Salesforce
Octane offers a powerful integration with Salesforce, allowing you to effortlessly sync data between the two platforms. Our Salesforce integration ensures that your critical customer and financial data is always up-to-date and readily available in both systems. In this comprehensive documentation, we'll dive into the details of Octane's Salesforce integration, outlining how it enhances your sales and customer management processes.
Octane's Salesforce integration operates in both directions, making it a versatile tool for your business needs. Here's how it works:
- Salesforce to Octane Integration: This custom integration caters to your unique Salesforce configuration. We collaborate closely with your organization to ensure that customers and contracts are seamlessly transferred into Octane. Specifically, when a Salesforce opportunity is marked as "Closed Won," Octane takes over, automatically piping the relevant customer and contract data into the system. This streamlined process eliminates manual data entry and minimizes errors. To learn more about how we can help you please contact [email protected].
- Octane to Salesforce Integration: Octane's Salesforce managed app serves as the conduit for daily data synchronization from Octane to Salesforce. Key information, including Customers, Usage, Credits, and Invoices, is automatically updated in Salesforce. This integration empowers your Salesforce users with access to the most current and relevant data, enhancing their ability to drive sales, identify upsell opportunities, and understand customer engagement.
With Octane's Salesforce integration, your sales team gains a competitive edge by accessing critical insights and data directly within Salesforce. Here are some of the powerful capabilities and questions our integration enables you to address:
- Billing Metrics: Identify which metrics an account is being billed on and track utilization trends over different time frames.
- Upsell Opportunities: Recognize increases or decreases in utilization, indicating potential upsell opportunities or churn risks.
- Invoice Analysis: Analyze invoice breakdowns to spot variations in line items compared to previous invoices.
- Top Grossing Accounts: Discover your top grossing accounts based on billed utilization, giving you valuable insights for strategic decisions.
The sections below comprehensively cover the process of syncing data from Octane to Salesforce. These sections provide detailed information on the integration and synchronization between the two platforms. The steps outlined in these sections ensure a seamless and efficient transfer of data from Octane to Salesforce, allowing for effective data management and integration between the two systems.
In Salesforce, login with your Salesforce Administrator credentials.
Navigate to the Octane installation page by visiting
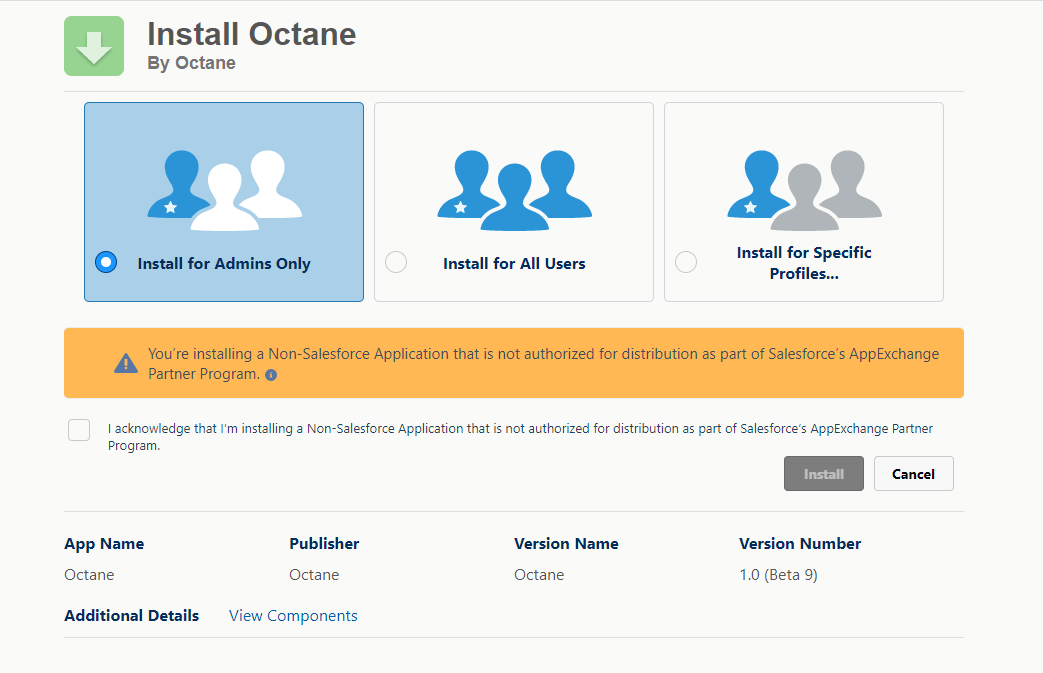
Click Install and approve the Third-Party Access. Third-Party access is required because our package utilizes the Octane API URL to fetch information.
Once the installation is complete, you will receive a success message to the email associated with your Salesforce account.

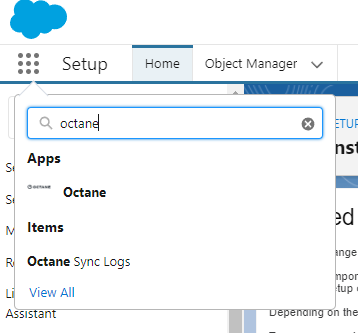
In Salesforce, within your organization, you will be able to search ‘Octane’
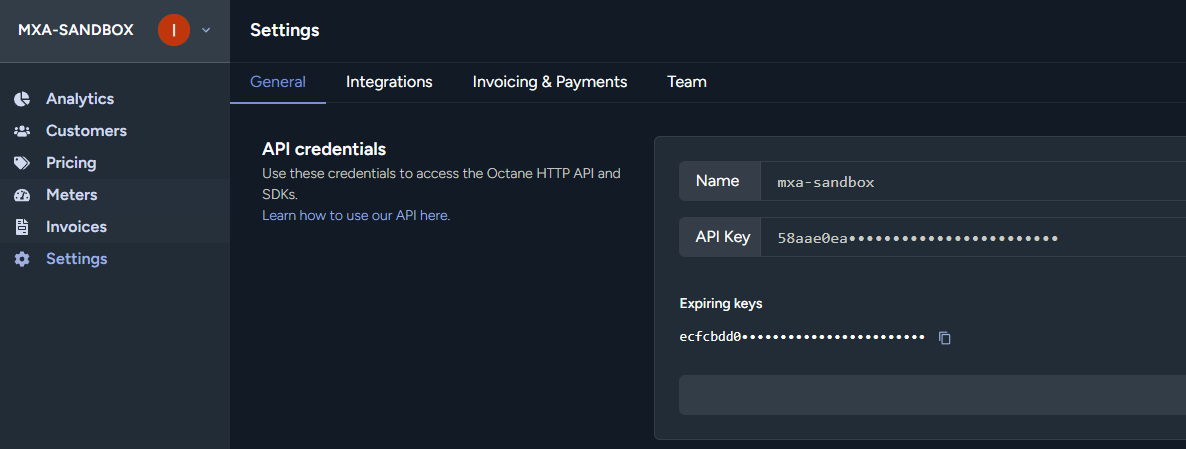
Once you navigate to the app, you will see the settings page. Grab the Octane API key from the Octane portal and paste it into the API token field in Salesforce. If the token is valid, you should see a success message.

In Salesforce, click the 'Enable Sync' button on the top right - this will enable Salesforce to pull data from Octane daily.

In Salesforce, navigate to the Object tab, click gear icon, and then click 'Edit Object'.
Navigate to Lightning Record Pages and select the Lightning Record page where you will add the Octane Component.
In 'Components', search for 'Octane Data View'.
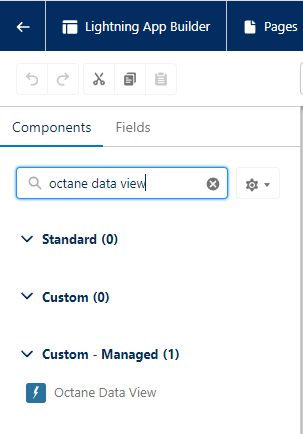
Drag the component to the dashboard location where you would like to see the Octane information.
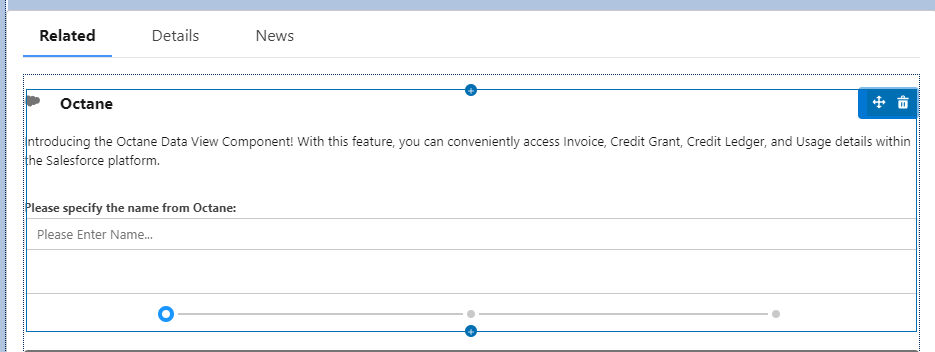
Save the Lightning Record Page (Note: if you have not activated the Lightning Record Page,
Navigate to the Lightning Record where you have configured the view component and would like to connect the customer.
Within the Octane View Component, enter the unique customer name and click 'Next'.

Use the checklist to configure which data to sync for this customer. Then click 'Next'.

The process will pull the information and going forward, you will be able to see the information within the same customer record within Salesforce!

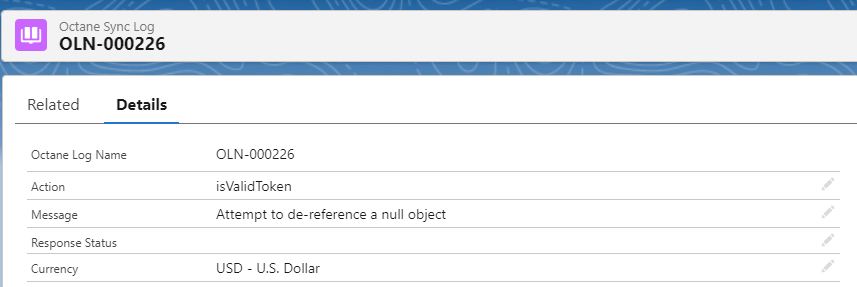
In case you run into any issues, you can share the error log records with our support team. Please see below for the instructions.
Search for “Octane Sync Logs”.
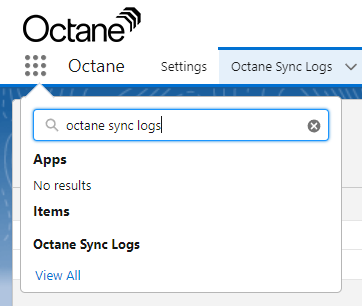
Share the latest record detail to the support team.
