Webhooks
Octane's Webhook API lets you take action on events that originate from Octane, like when a user signs up or when an invoice is generated. This guide will walk you through the process of receiving your first webhook event.
The first you'll need to do is set your webhook URL in our settings. If you have a URL ready to go, great — you can skip this section. If you don't yet have a URL that's ready to receive webhooks, you can create a test endpoint using a tool like ngrok. For the sake of these instructions, that's what we'll be using.
ngrok gives you a public-facing URL and forwards any traffic sent to that URL to a local port on your computer. It also lets you inspect any data sent to or from that URL. While you can make an ngrok account if you'd like, it's not necessary for this guide.
Start by installing and running ngrok on an unused port. We'll use port 9000 in this guide.
macOSLinux
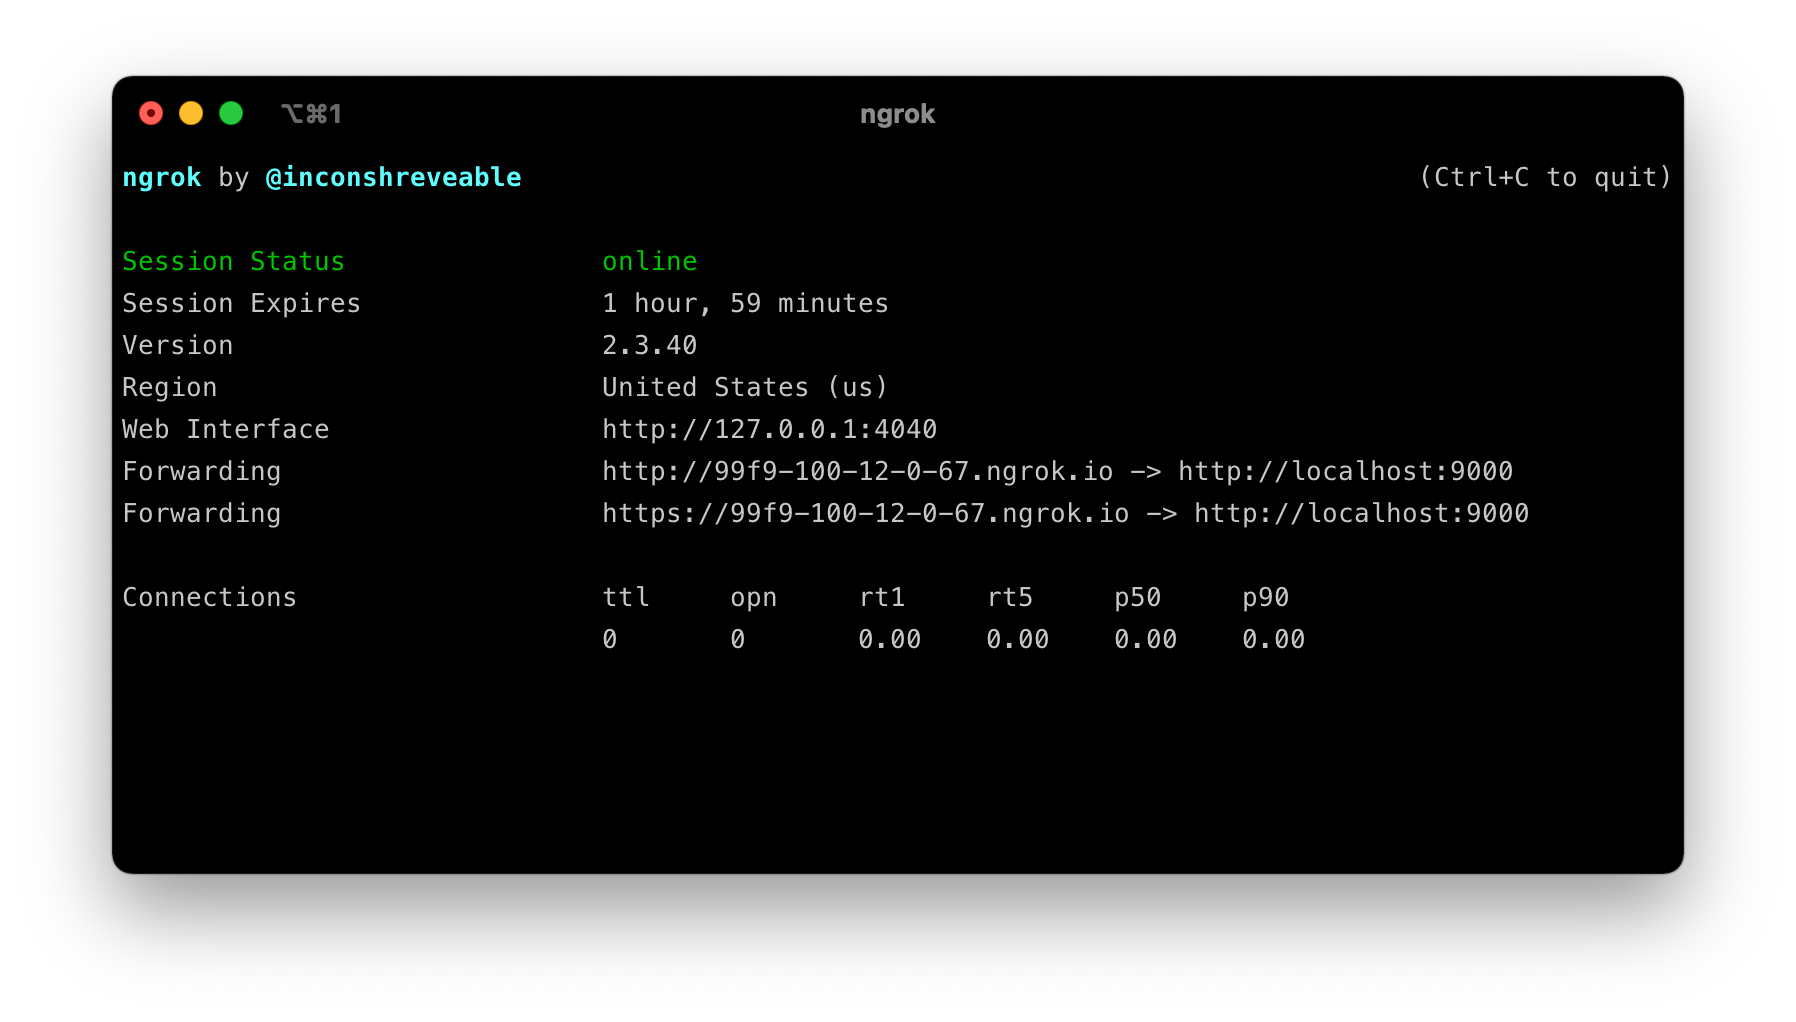
Once ngrok is running locally, you should see something like this:

The "Web Interface" url will let you see any requests sent to ngrok. The "Forwarding" URLs are public-facing, and we'll use them to test out the Octane Webhook API. Keep track of the one that uses https:// — we'll need that in the next step.
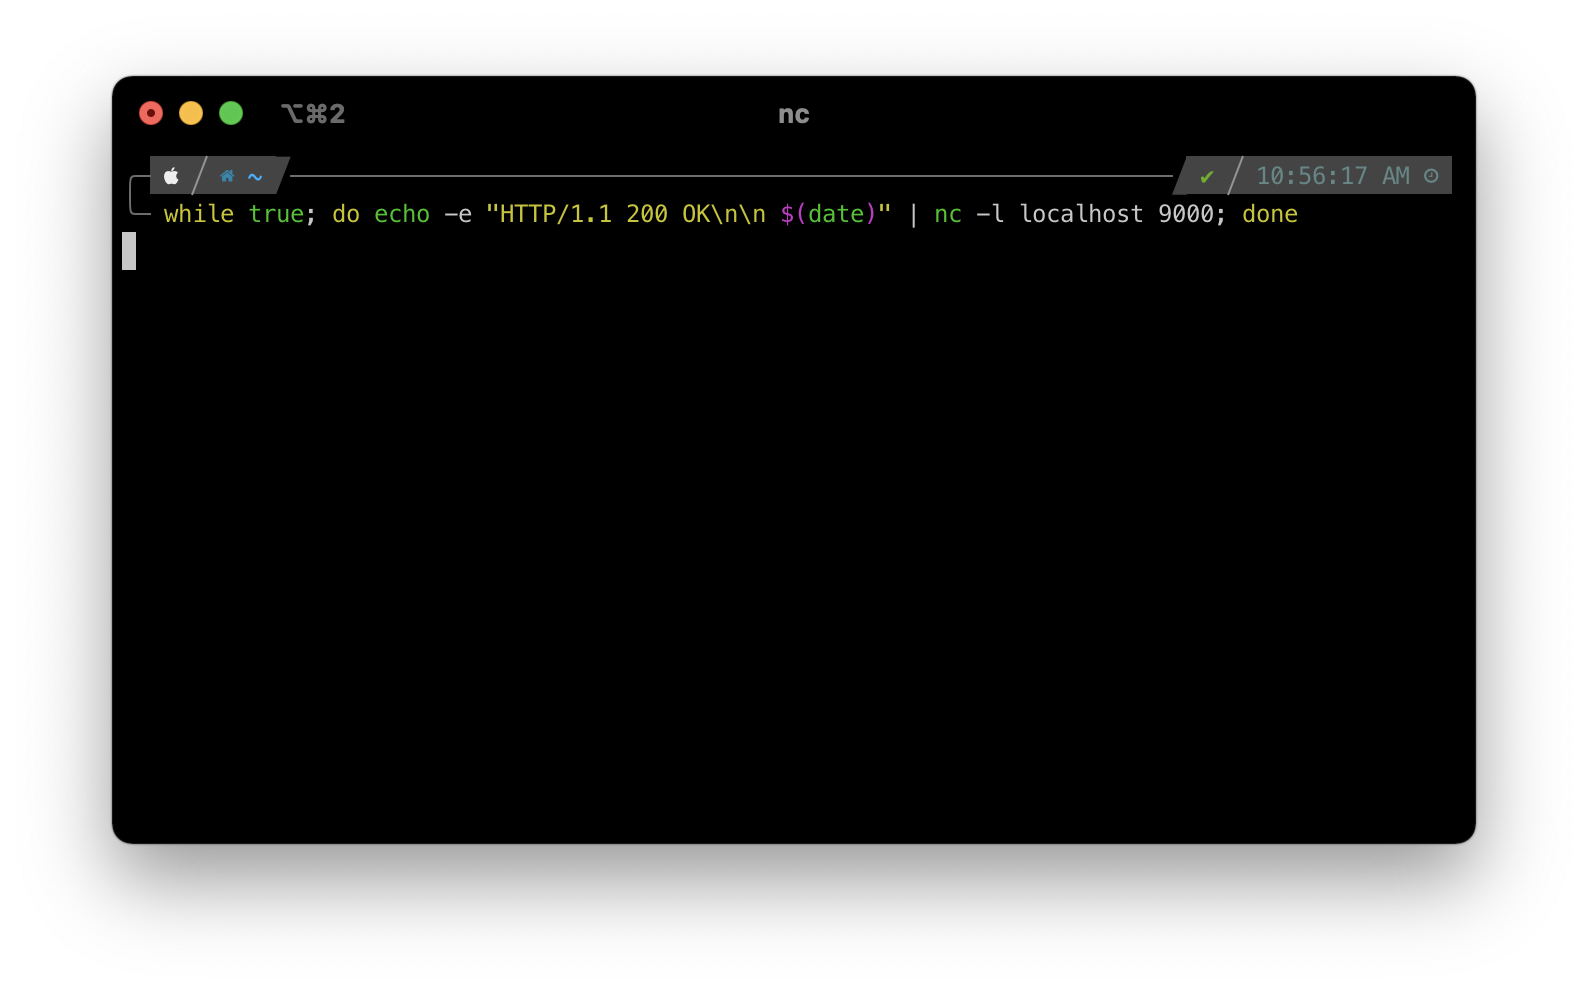
Next, we'll need something running locally to respond to requests at port 9000. It doesn't need to be fancy, but it should respond to any requests with a valid HTTP response. The snippet below does just that, listening at port 9000 for a request and then echoing a response to it. In a new shell, run the command below.
Text
When it's running, it shouldn't do anything at first. That's ok — it won't do anything until we send it a request.

Next, we need to configure Octane with our webhook server URL. This is as easy as going to "Settings", selecting the "Credentials" tab, and clicking "Set a webhook URL" in the Webhook credentials section.

Once you've saved your webhook URL, it will start receiving events for our webhook API immediately. The next step is to trigger an event explicitly, which will let us see the request in detail.
Since you might not have any events happening at the moment, we can trigger one manually. The easiest one to trigger is the new_customer event, which gets fired whenever a customer is created.
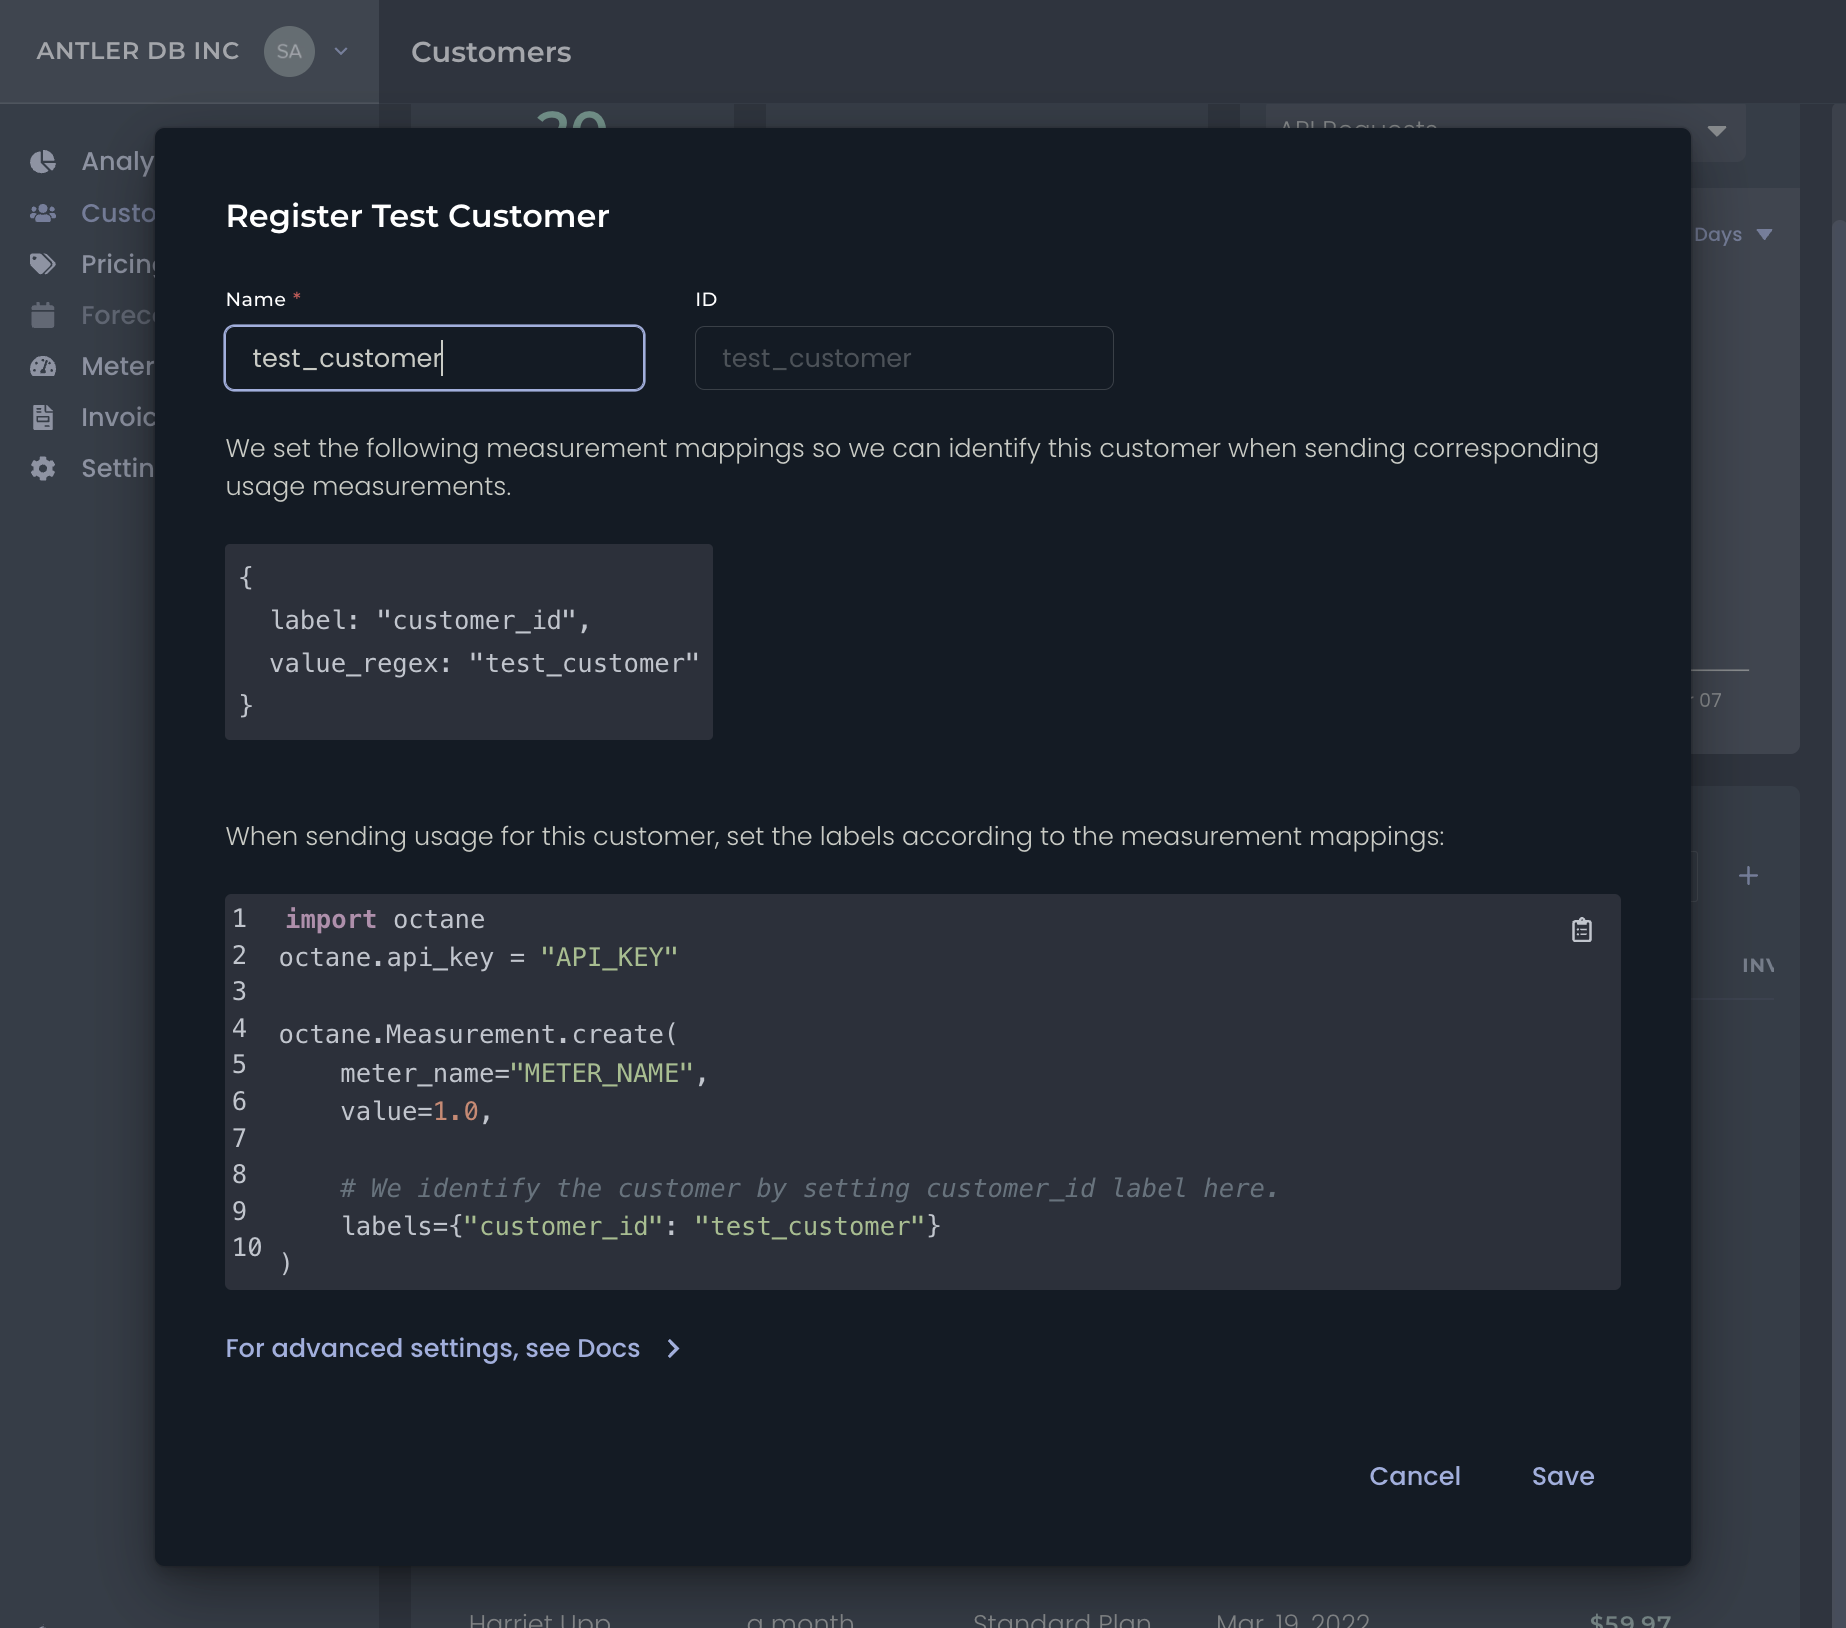
Usually, we encourage creating customers through our API, but for the sake of testing, creating a customer through our web portal can be a little easier. On the Customers page, press the + button at the top of the "All Customers" table and create a (temporary) test customer. We'll delete them once we're done.

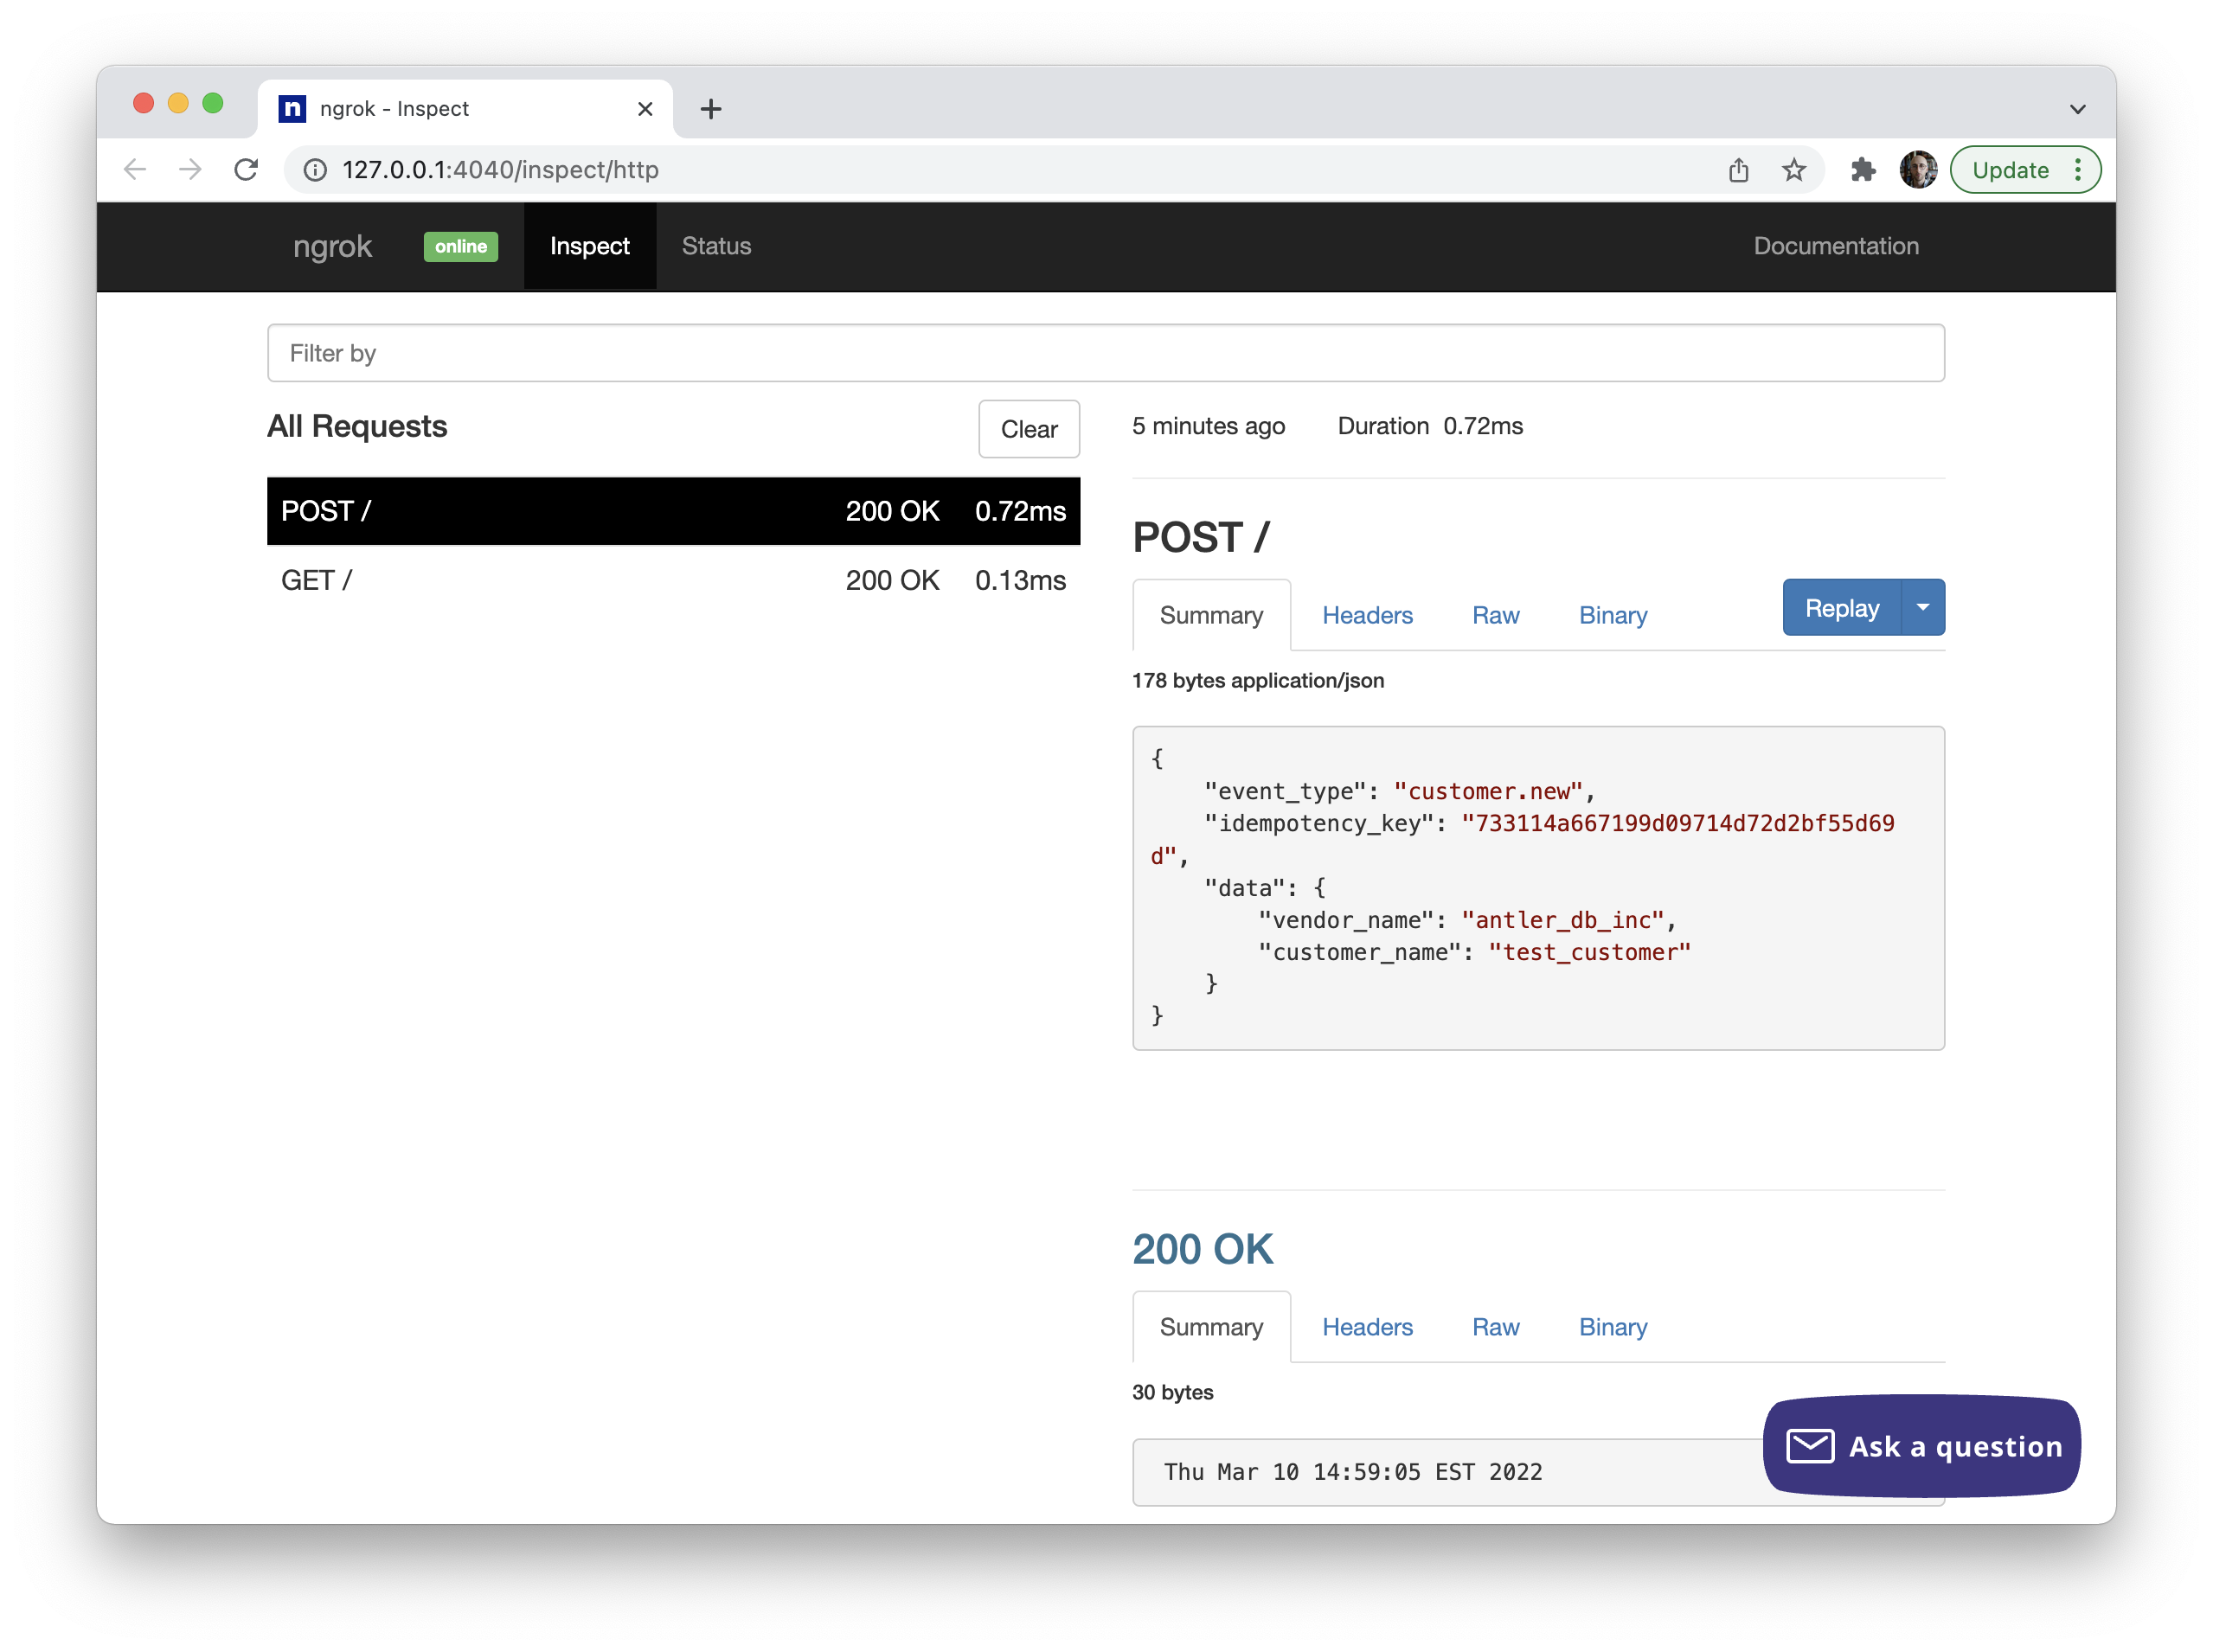
Once you click "Save", Octane will create the customer and send a webhook event to the URL we added in our settings. If you're using ngrok, you should be able to see the request in its web UI.

That's it! You've officially triggered and received your first event with Octane's Webhook API. Check out the next steps below to learn more about handling an event once you've received it, and to browse a list of events we currently support.